Modify an Existing Export Set
You can modify an existing Export Set. You use Export Sets to create an export at the individual document level with sort capabilities. The data can be sorted by a selected field and then exported in that order. The default sort lists the parents in the order they were discovered, and their children attached to them.
To open and re-sort an Export Set, if necessary.
-
From the eCapture QC menu bar, choose either:
- File > Create Session for Processing Job Export Set
- File > Create Session for Data Extract Job Export Set
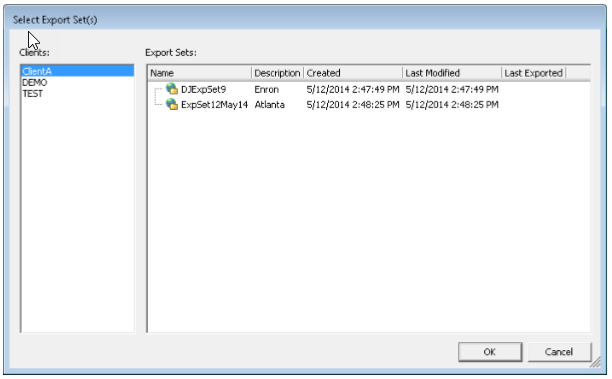
The Select Export Sets dialog box appears.
-
Select the Client.
-
Select an Export Set.
-
Click OK. The Export Set displays in the Documents List Window as a Session tab, much the same as a regular Processing Job session and a Data Extract Job session appear.
-
Modify the Export Set.
-
Right-click the Processing Job Session tab or the Data Extract Job Session tab and select Create Export Set.
-
If you want to create a new Export Set:
-
Select Create New.

- Type a Name and Description for the Export Set.
-
Click OK.
-
-
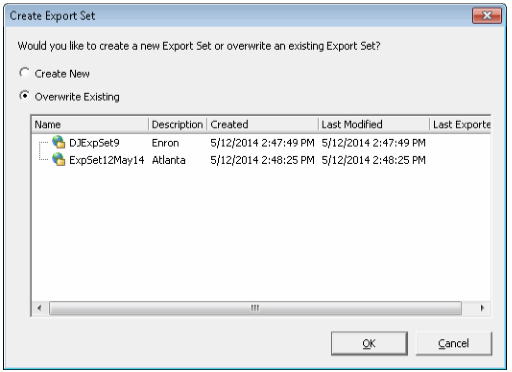
If you want to overwrite an existing Export Set:
-
Select Overwrite Existing.

- Select the Export Set you want to overwrite.
-
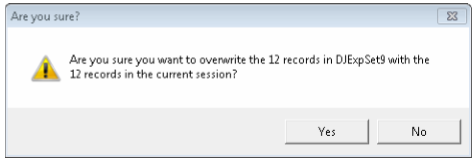
Click OK. The system displays a prompt asking if you want to perform the overwrite by replacing the selected Export Set with the changes you made.

-
Click Yes to overwrite it.

Note: If you click No, then the overwrite does not occur. The Export Set then displays in the appropriate folder under Export Jobs in the eCapture Controller along with its associated information in the Status Information panel.
-

Related Topics